Laser and smoke generator
This page documents the physical installation. Hazard handling and rules are on the safety page: see Safety → Laser & smoke. The future of this subsystem is in the Project improvements → laser sheet uniformization and Project improvements → smoke rack threads.
Laser system
| Item | Spec |
|---|---|
| Laser | 5 mW, Class 2, visible (green) |
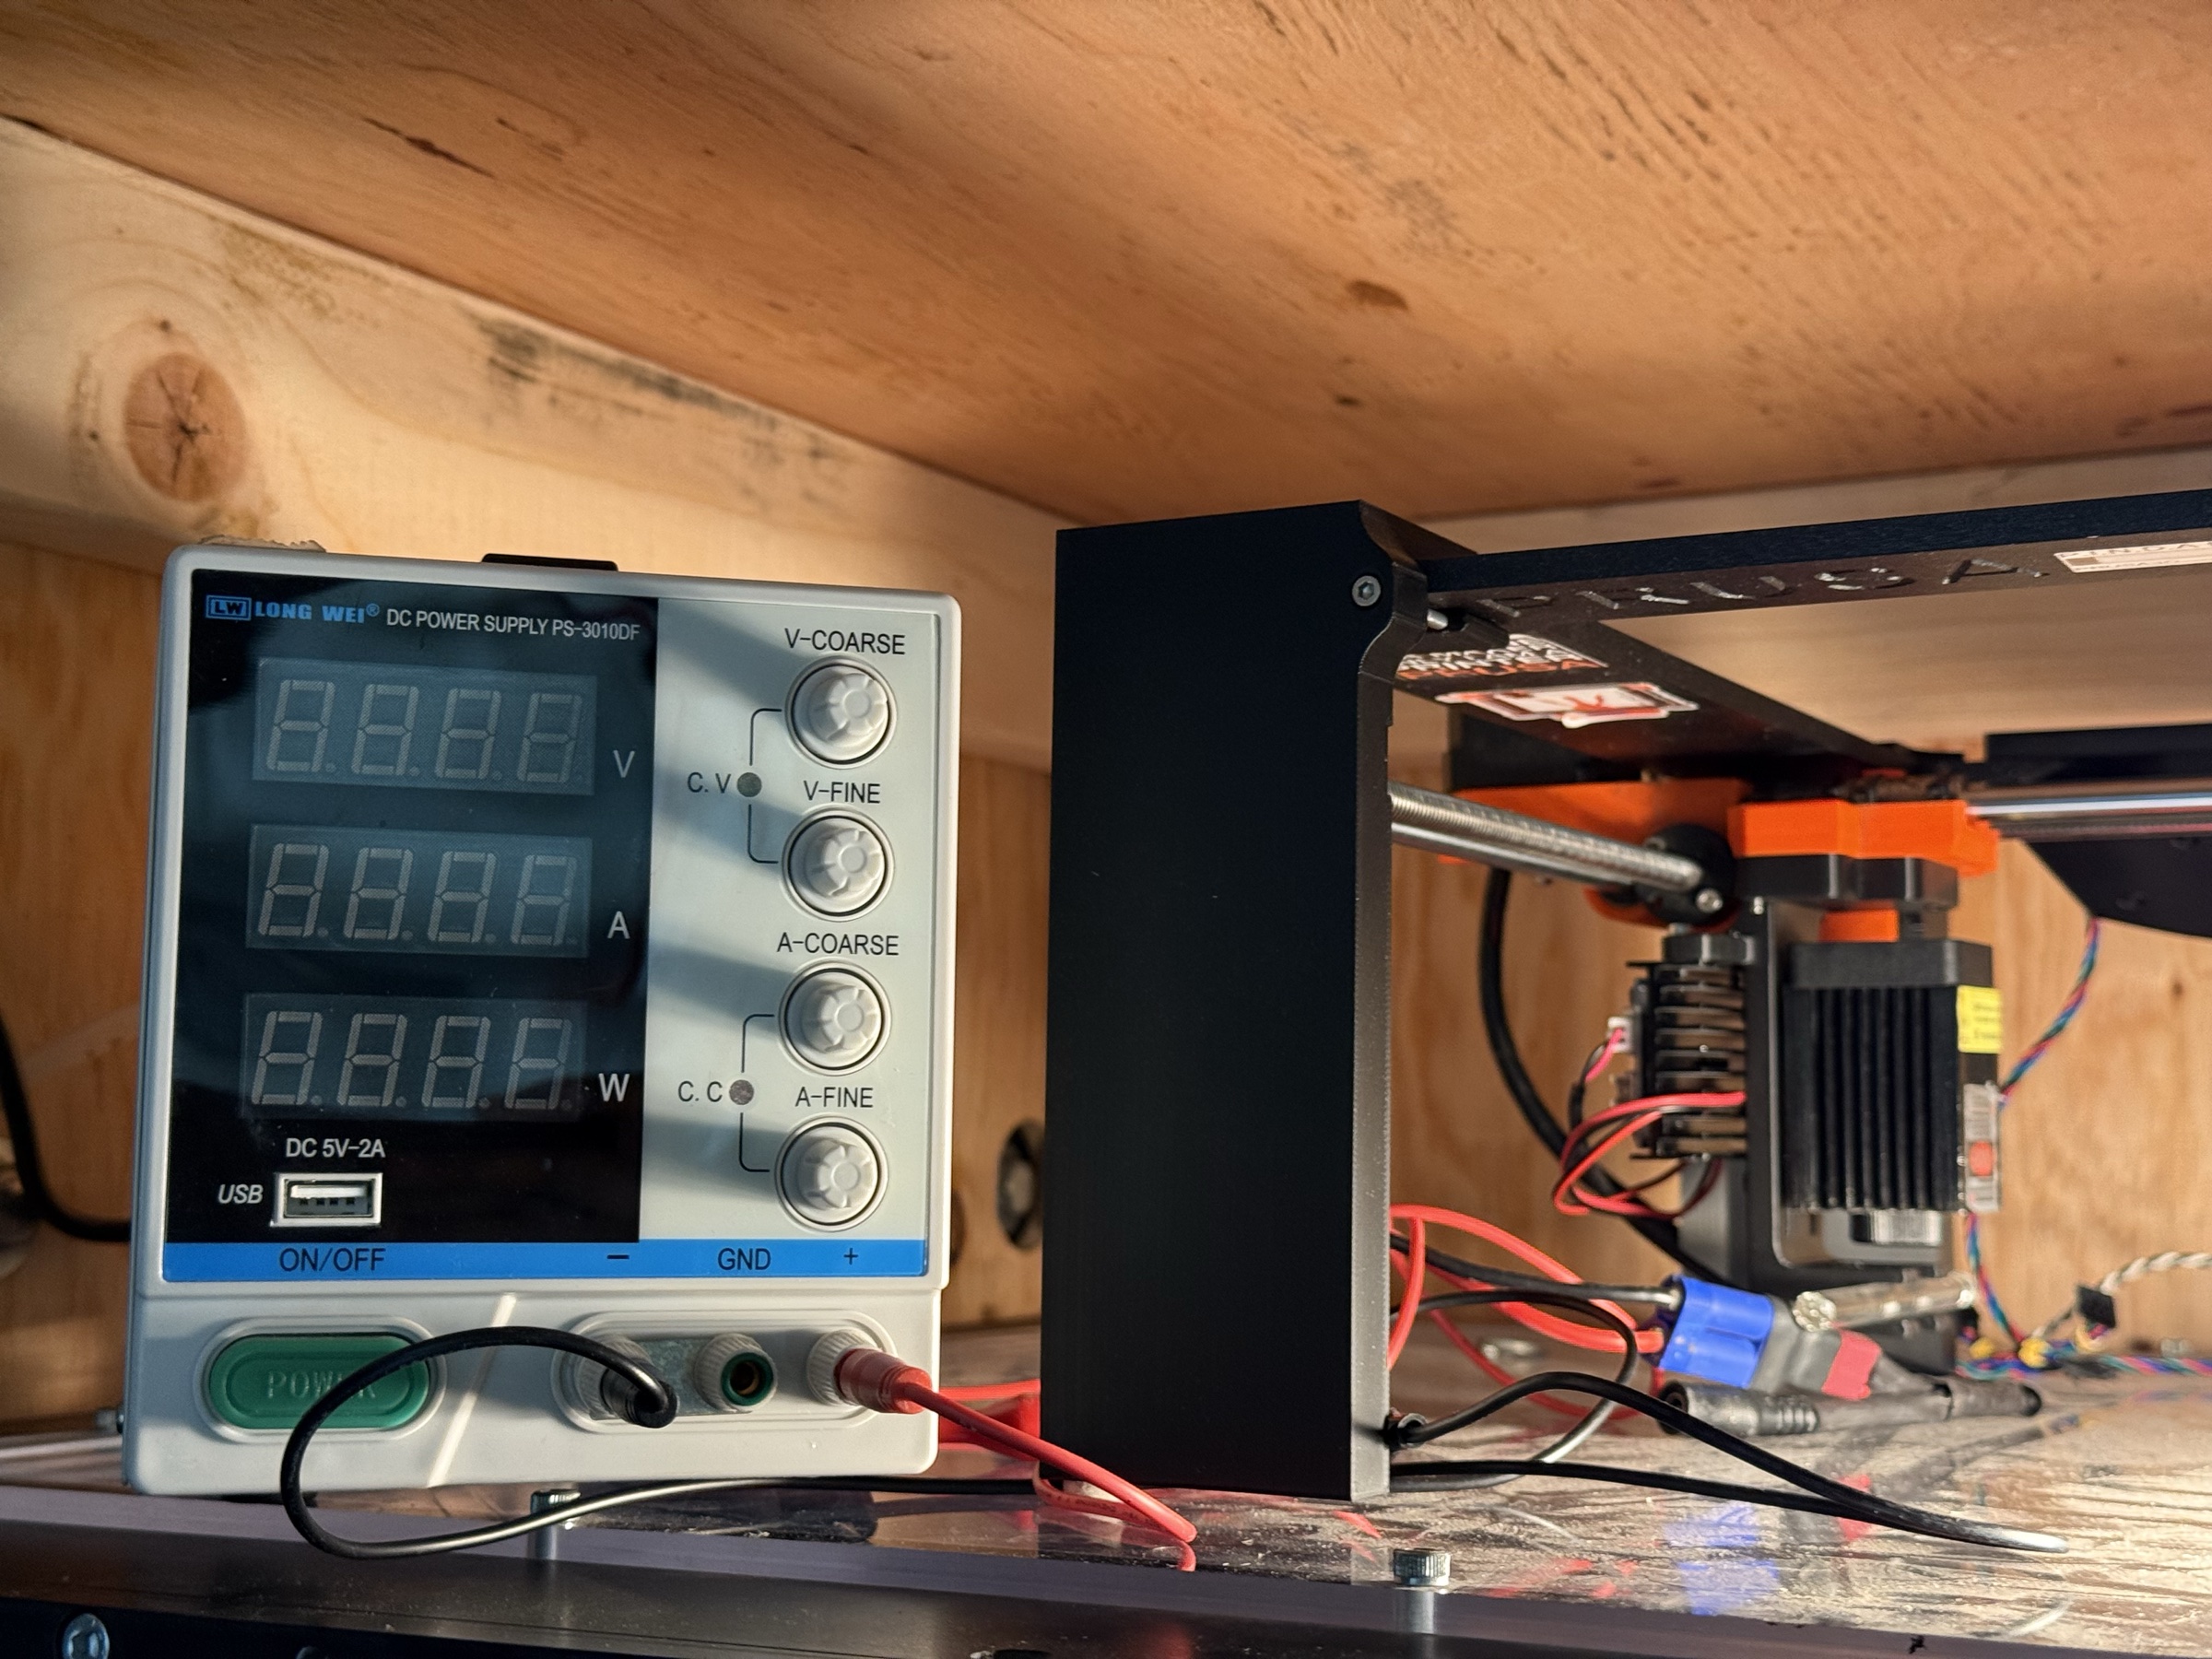
| Power supply | DC bench supply, preset to 12 V |
| Beam shaping | Glass rod placed across the beam to spread it into a sheet |
| Mounted on | Optical bench / aluminium extrusion to the side of the test section |
Known issue: non-uniform sheet
The glass-rod sheet former produces a sheet with intensity concentrated in the middle. This is acceptable for qualitative flow visualization on the centreline of the test section, but it is not suitable for quantitative streamline extraction from video — the intensity falloff at the edges of the sheet makes a constant-threshold particle-tracking algorithm unreliable.
Replacing the glass rod with a Powell lens or a small cylindrical-lens train is the cleanest fix; this is what the laser-sheet improvement thread plans to evaluate.
Smoke generator
| Item | Detail |
|---|---|
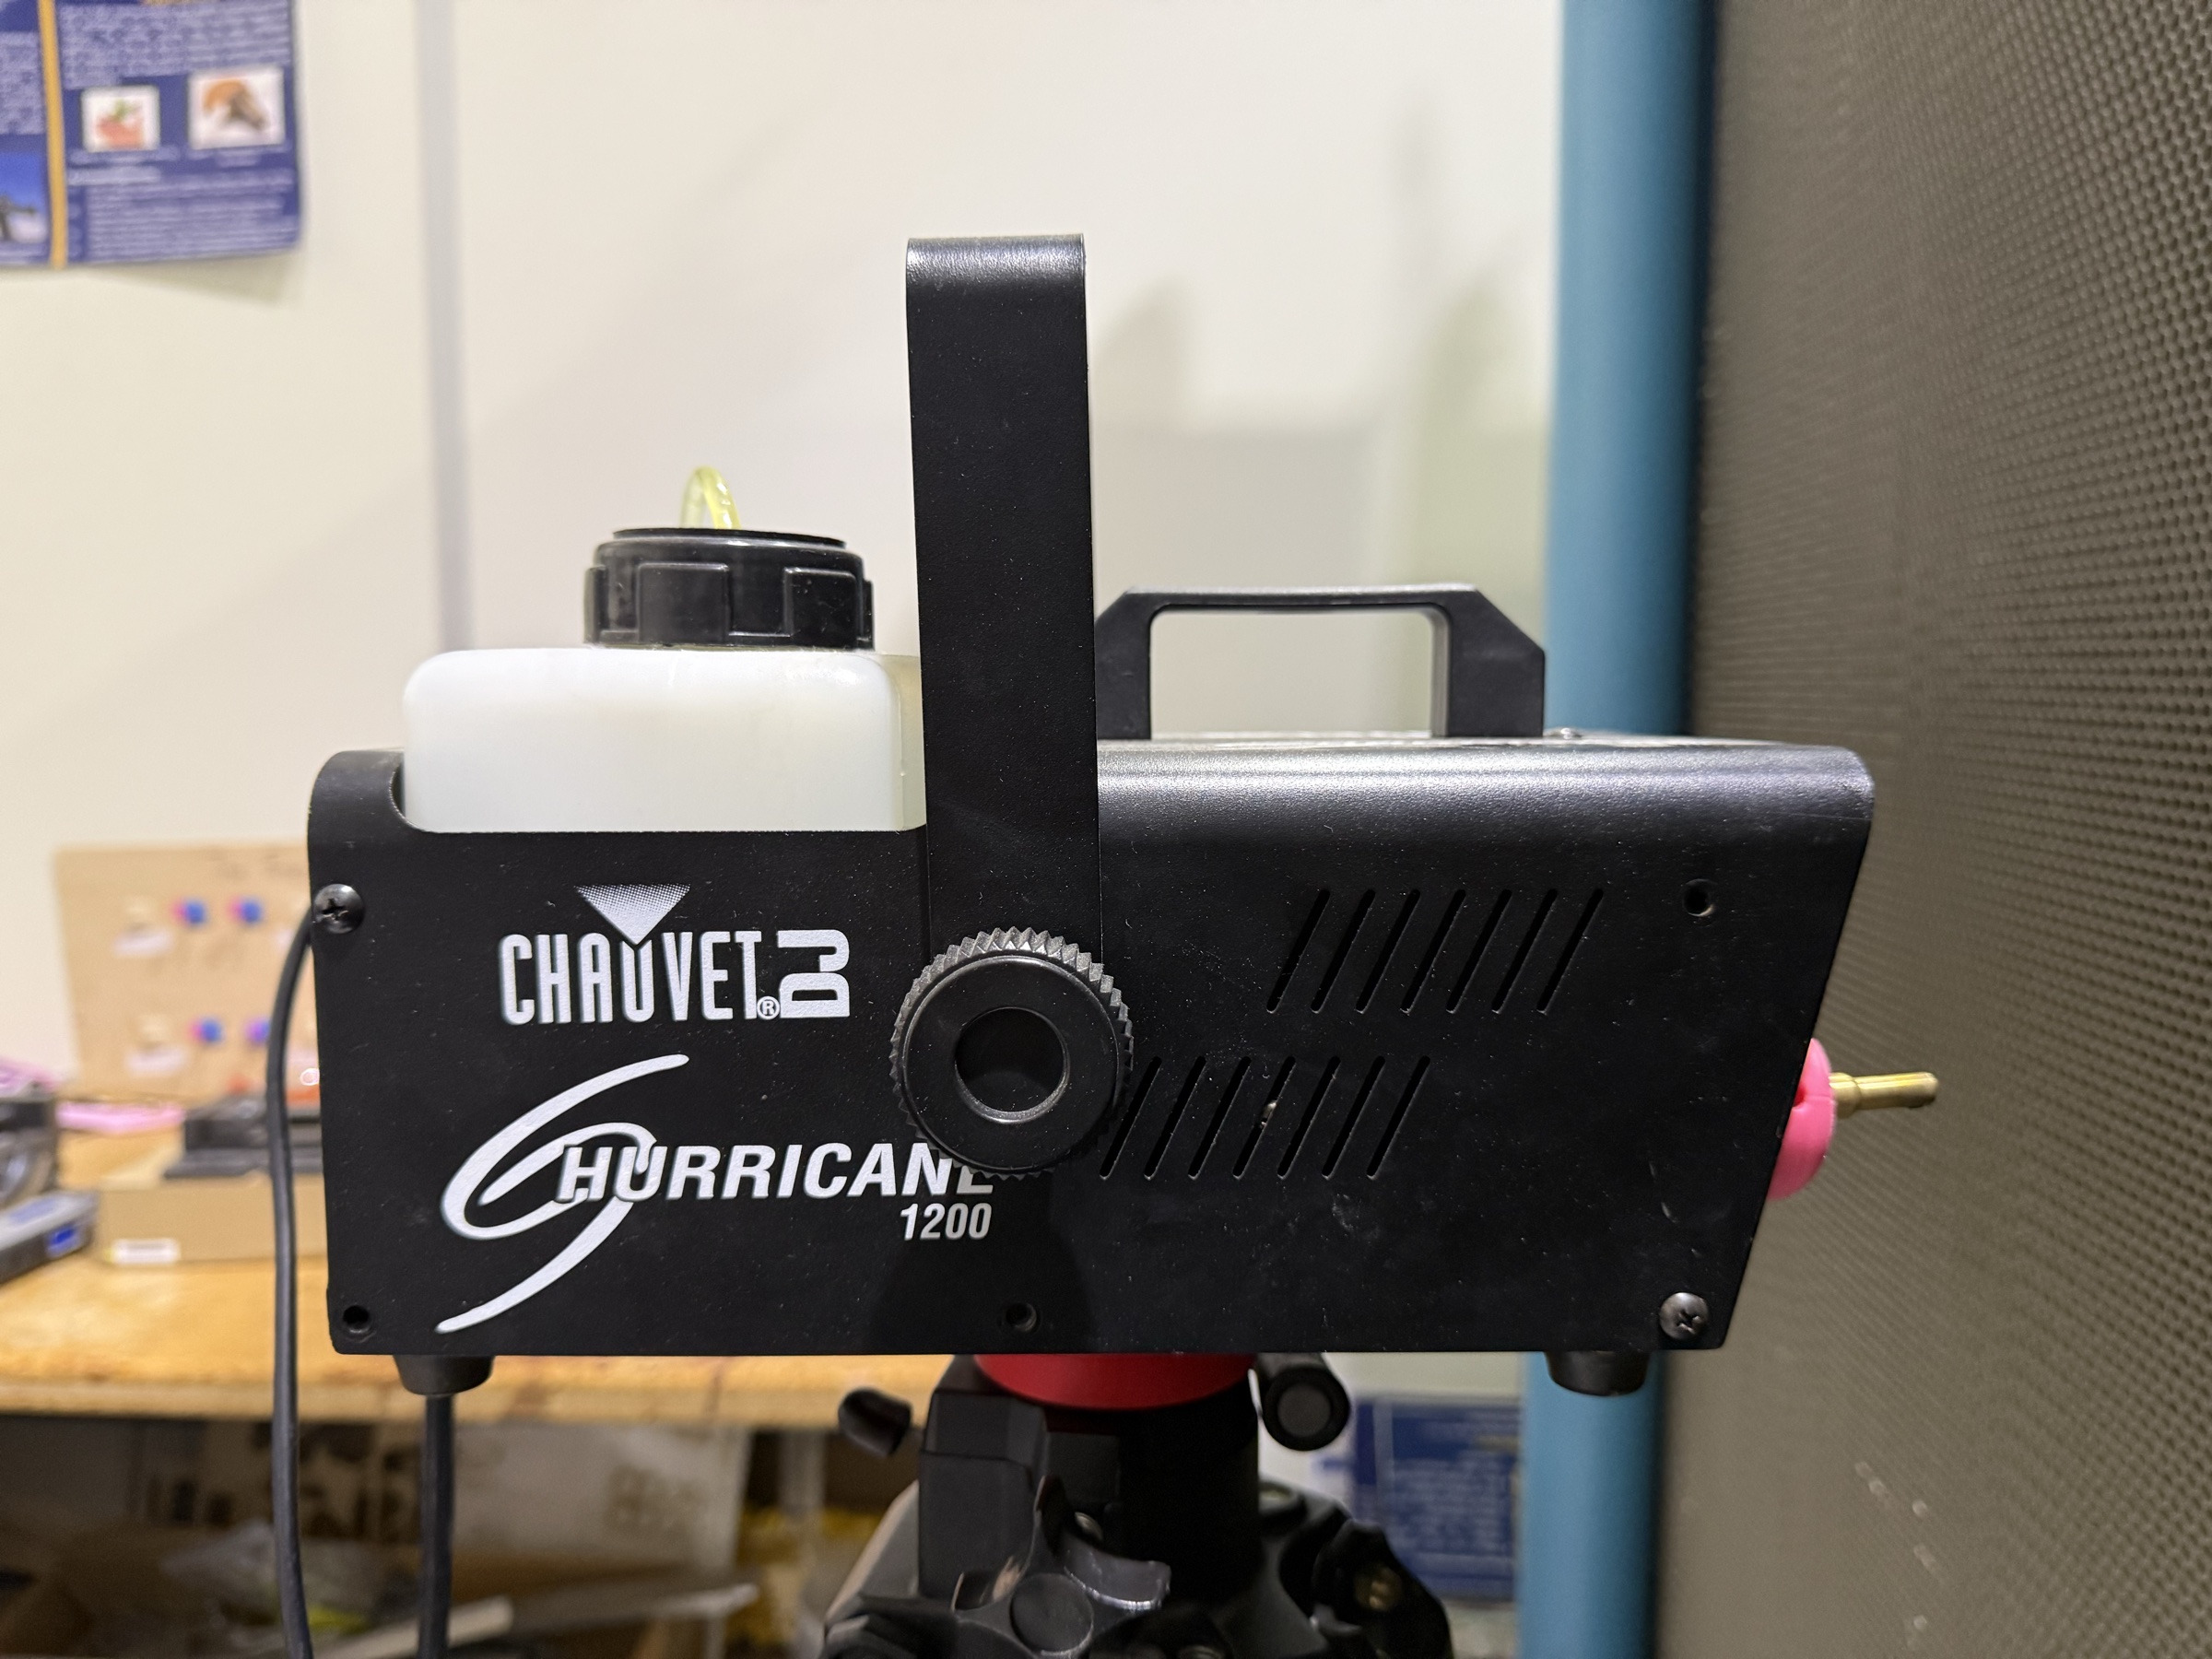
| Type | Glycol-based commercial smoke generator |
| Placement | Near the tunnel inlet so smoke is entrained by the airflow |
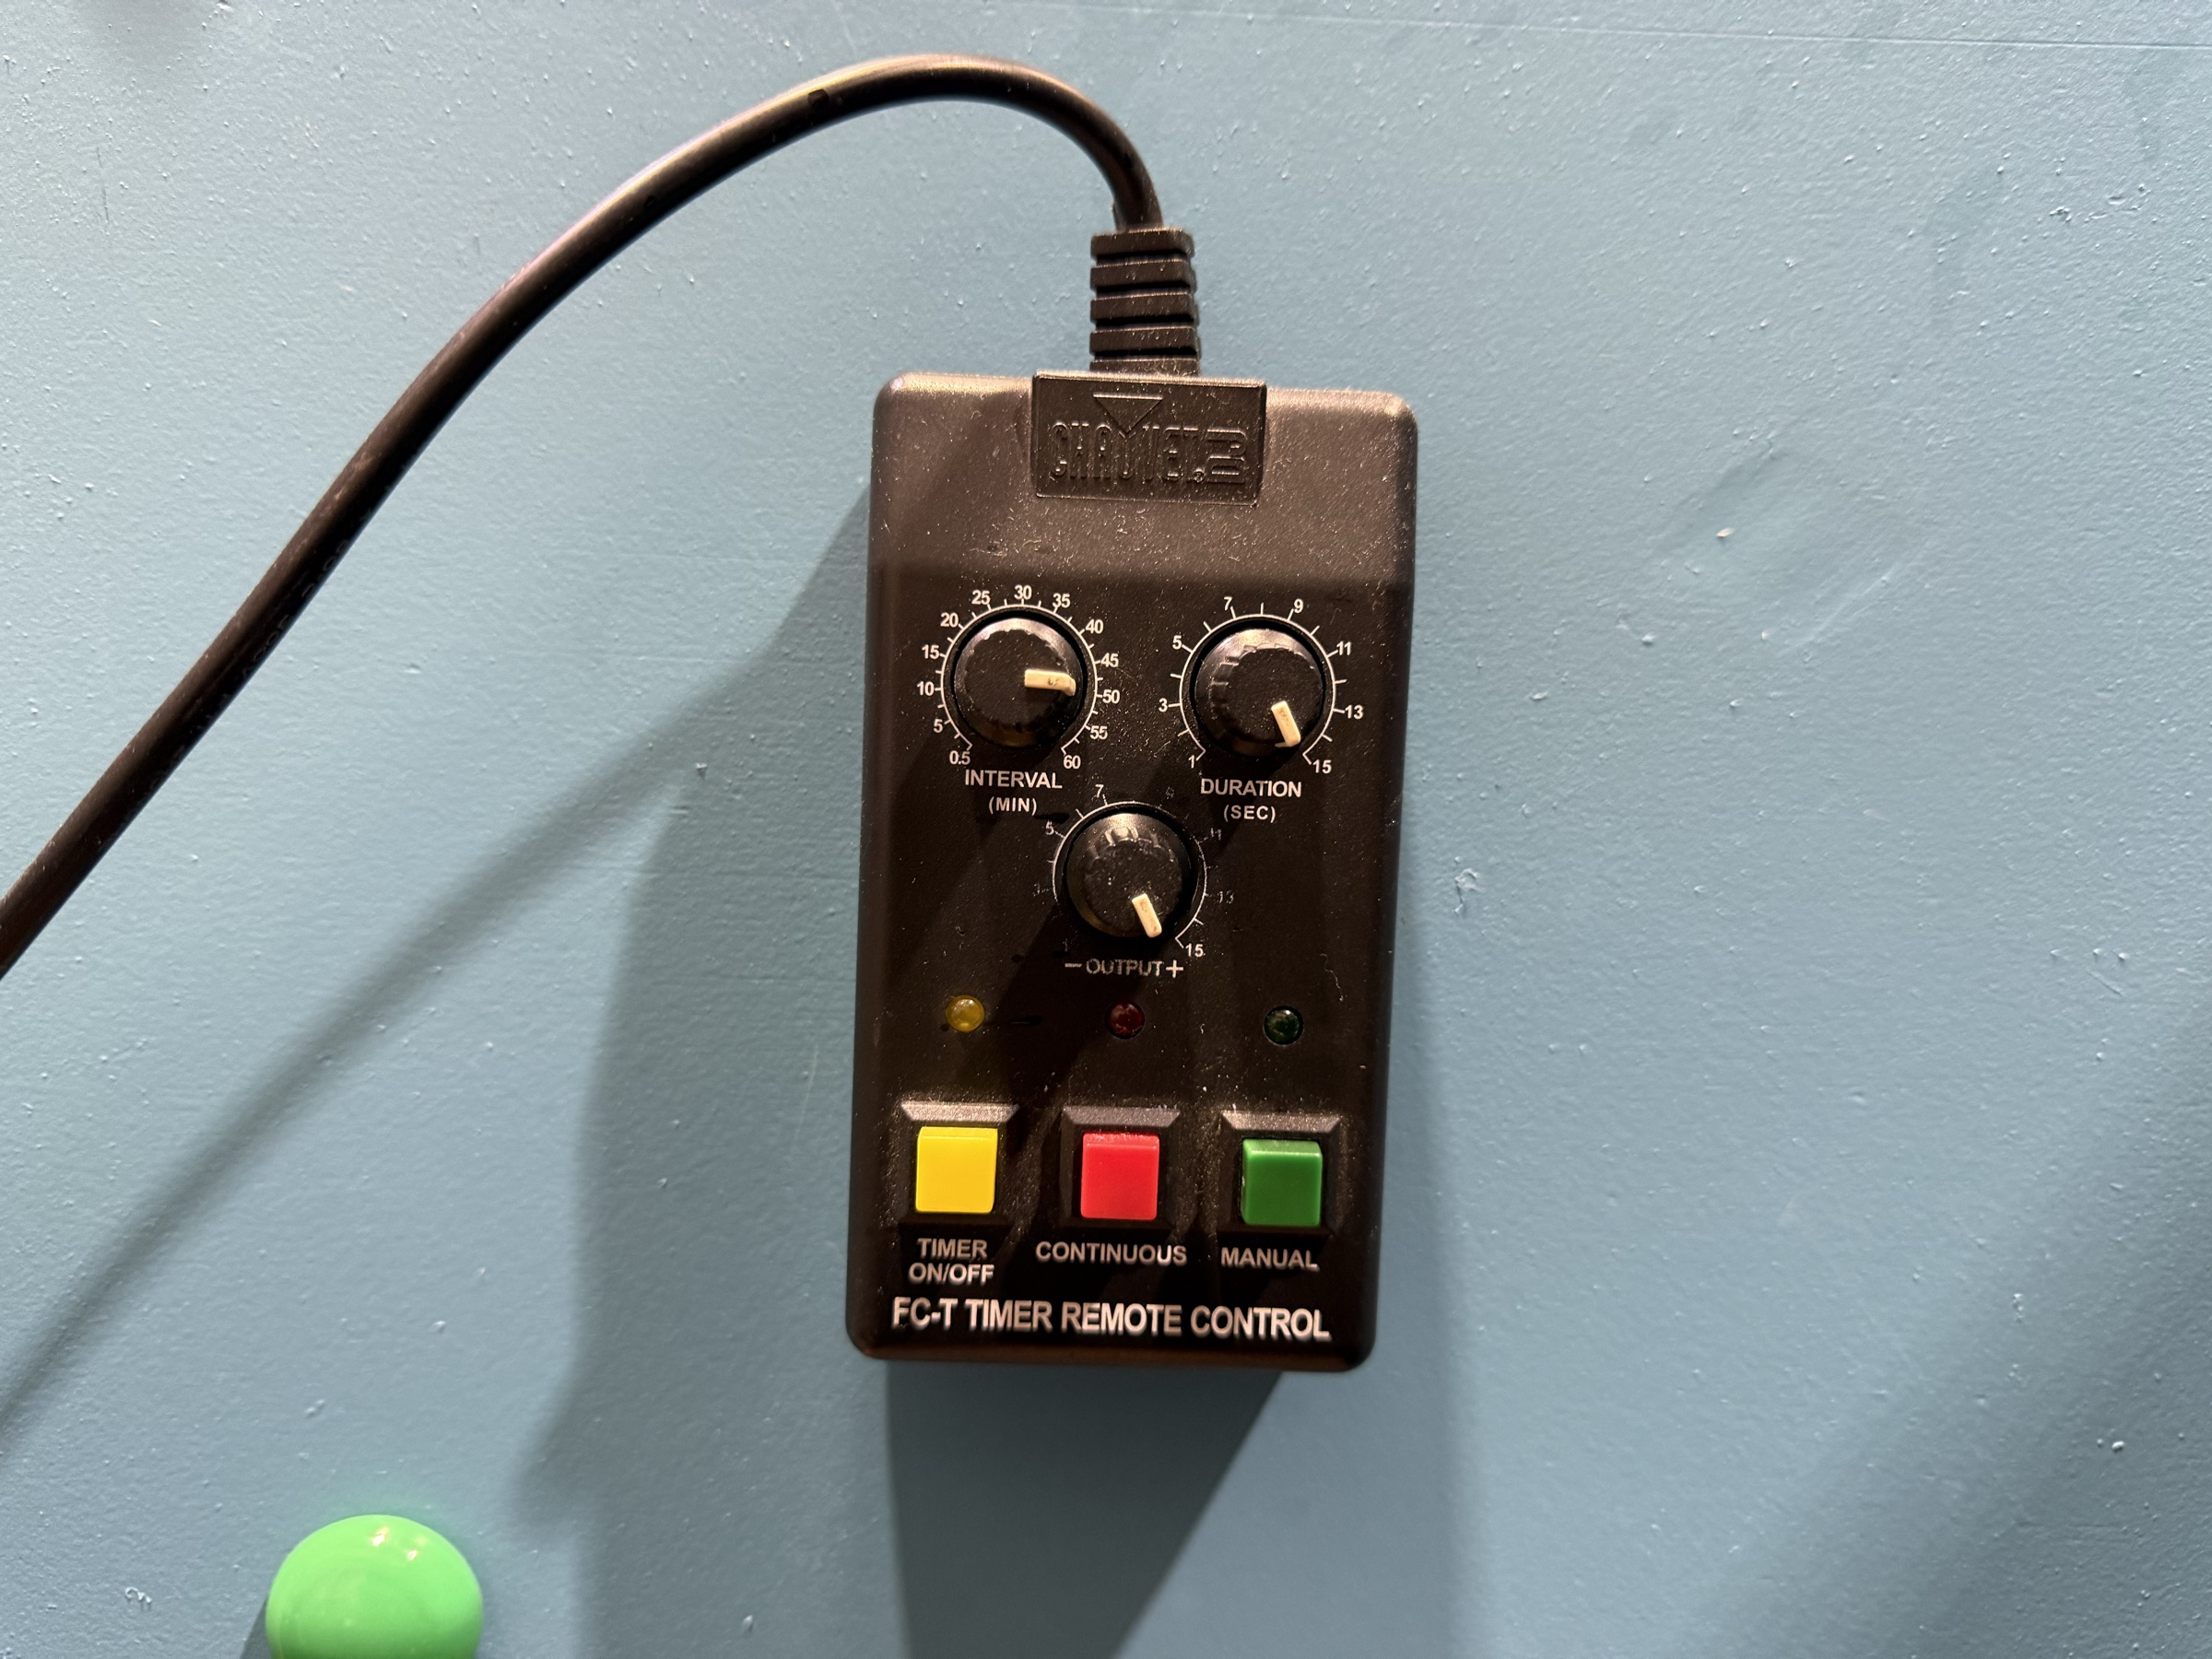
| Remote | Wired, placed at the computer station so the operator can fog without leaving the controls |
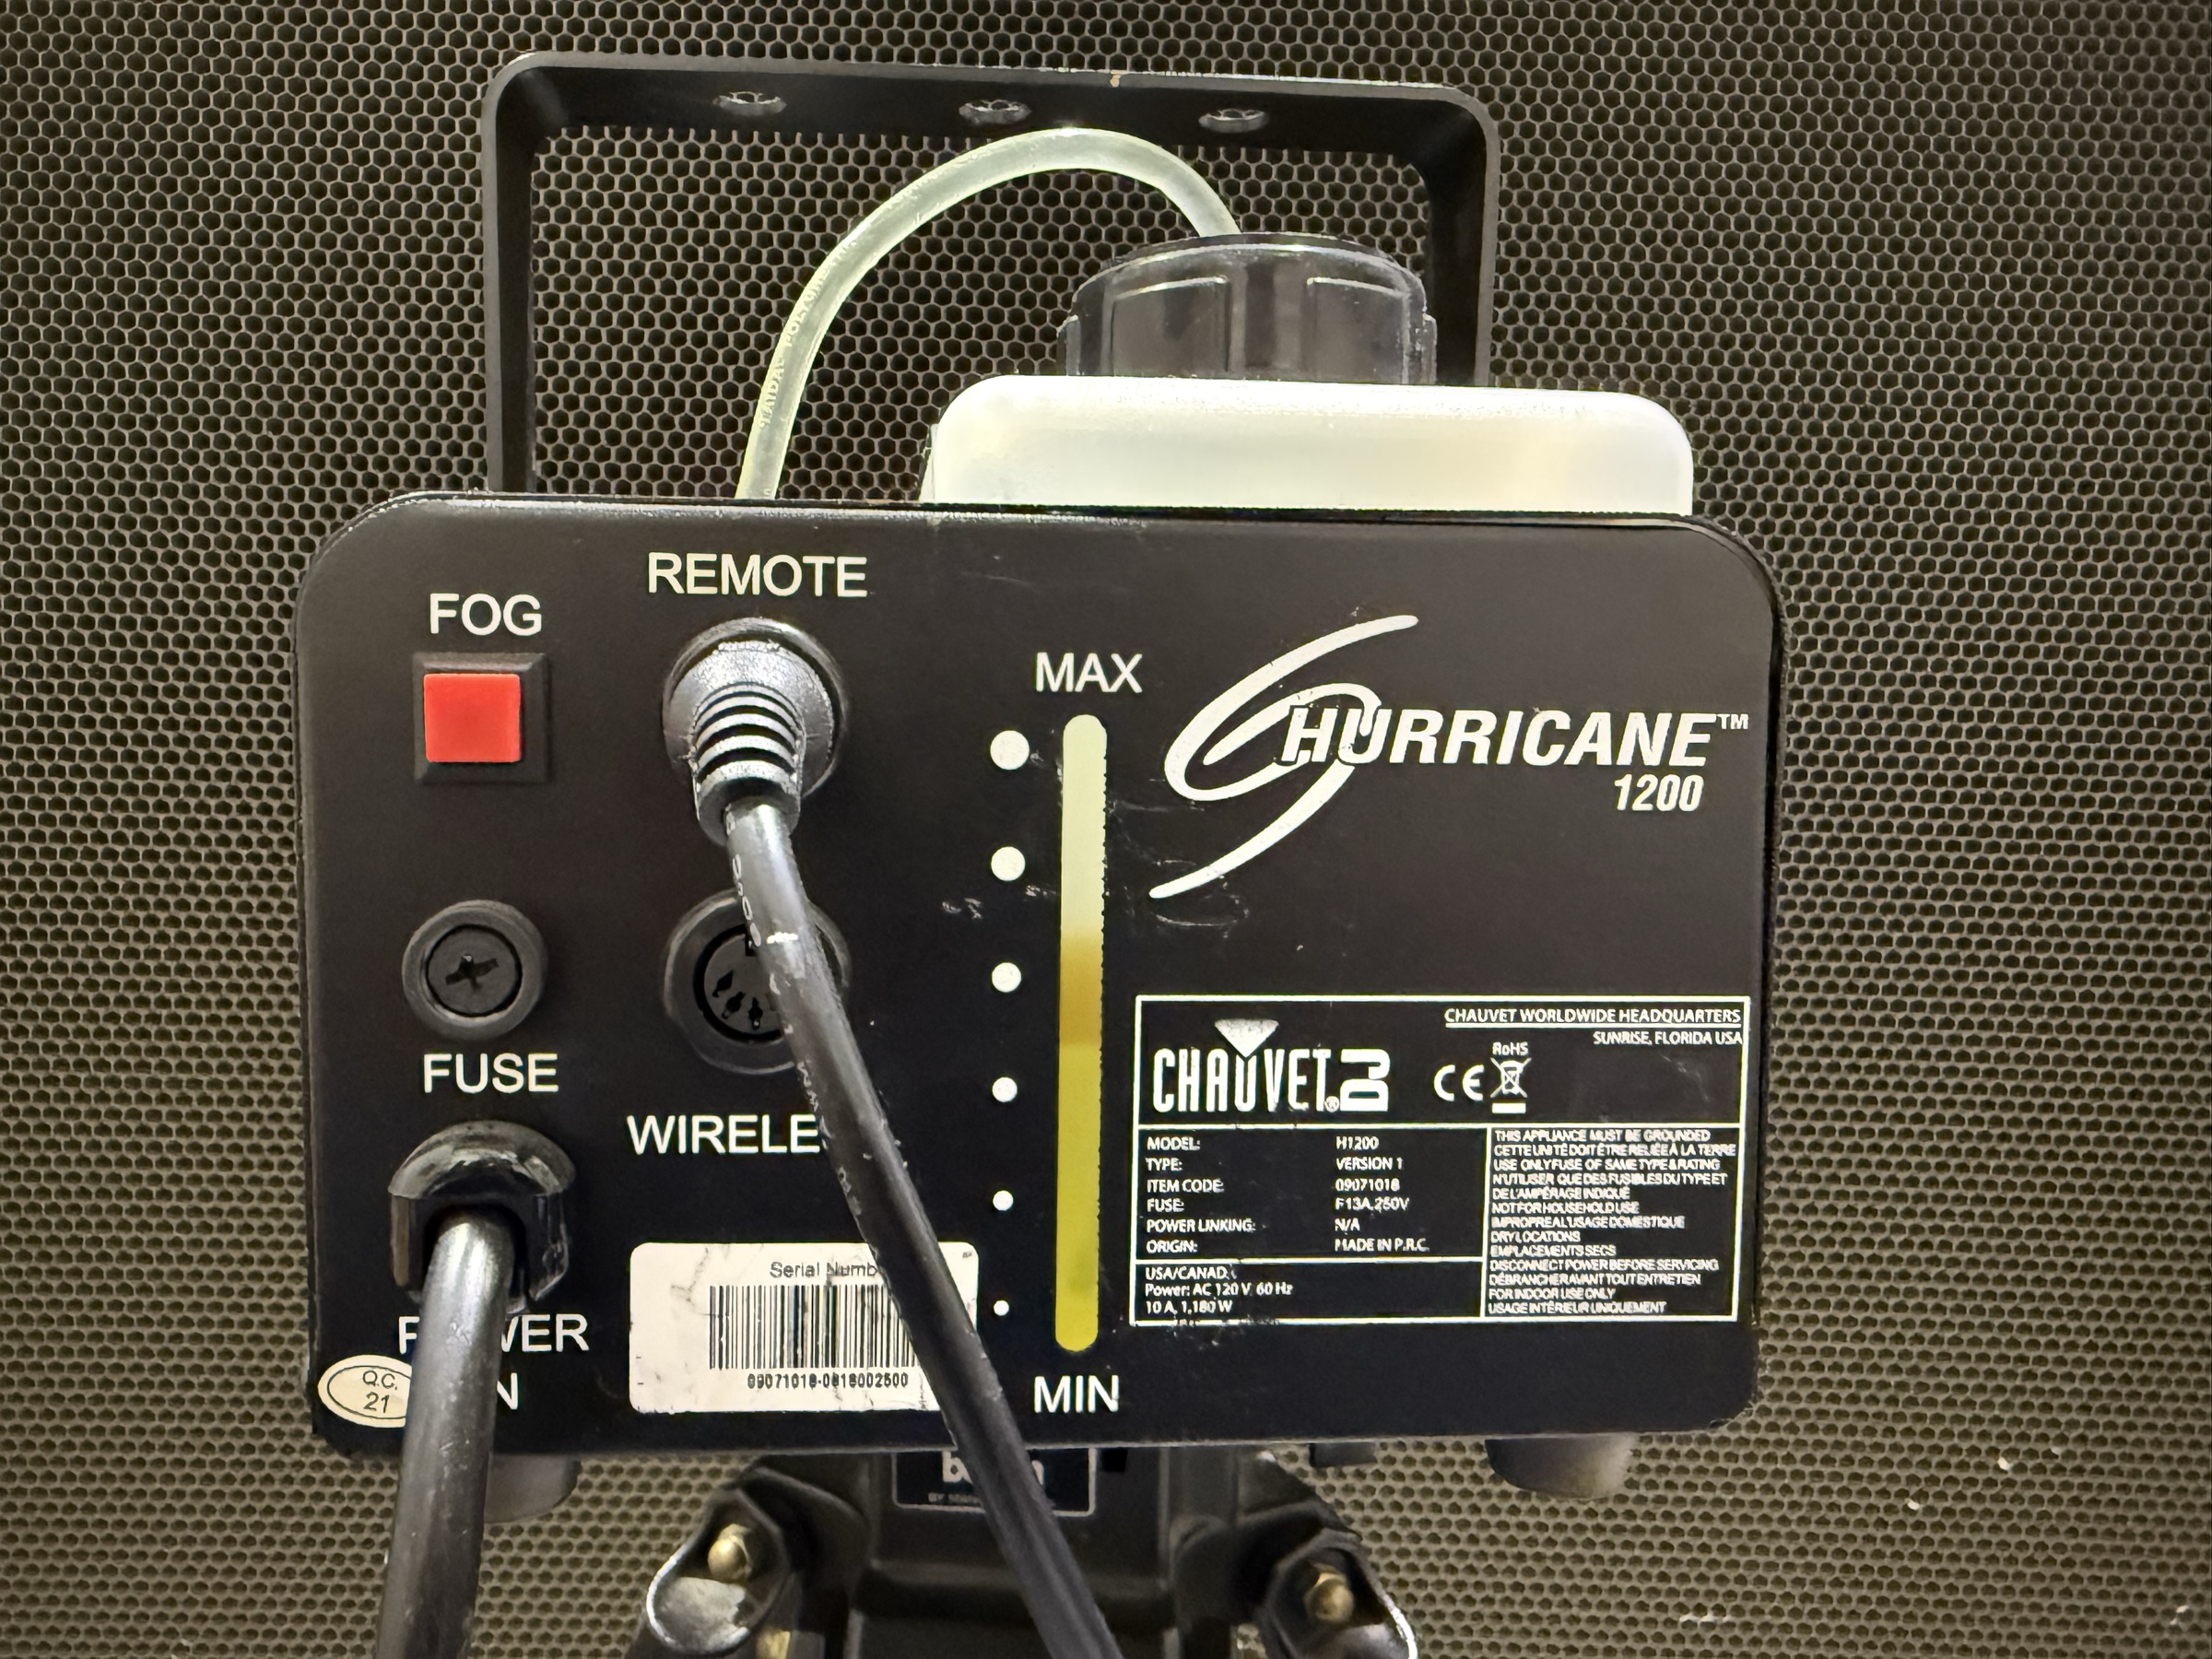
| Current operating settings | See the Smoke_Generator_Back_View photo above (heater temperature, fluid flow rate, fan setting) |
The current settings are an inheritance, not a calibrated optimum. Empirical sweeps of these settings against smoke density, smoke stability, and dispersion uniformity are planned in Project improvements → smoke rack. The operator should record the dial positions in the run log so we can correlate visualization quality with settings over time.
Test-section lighting
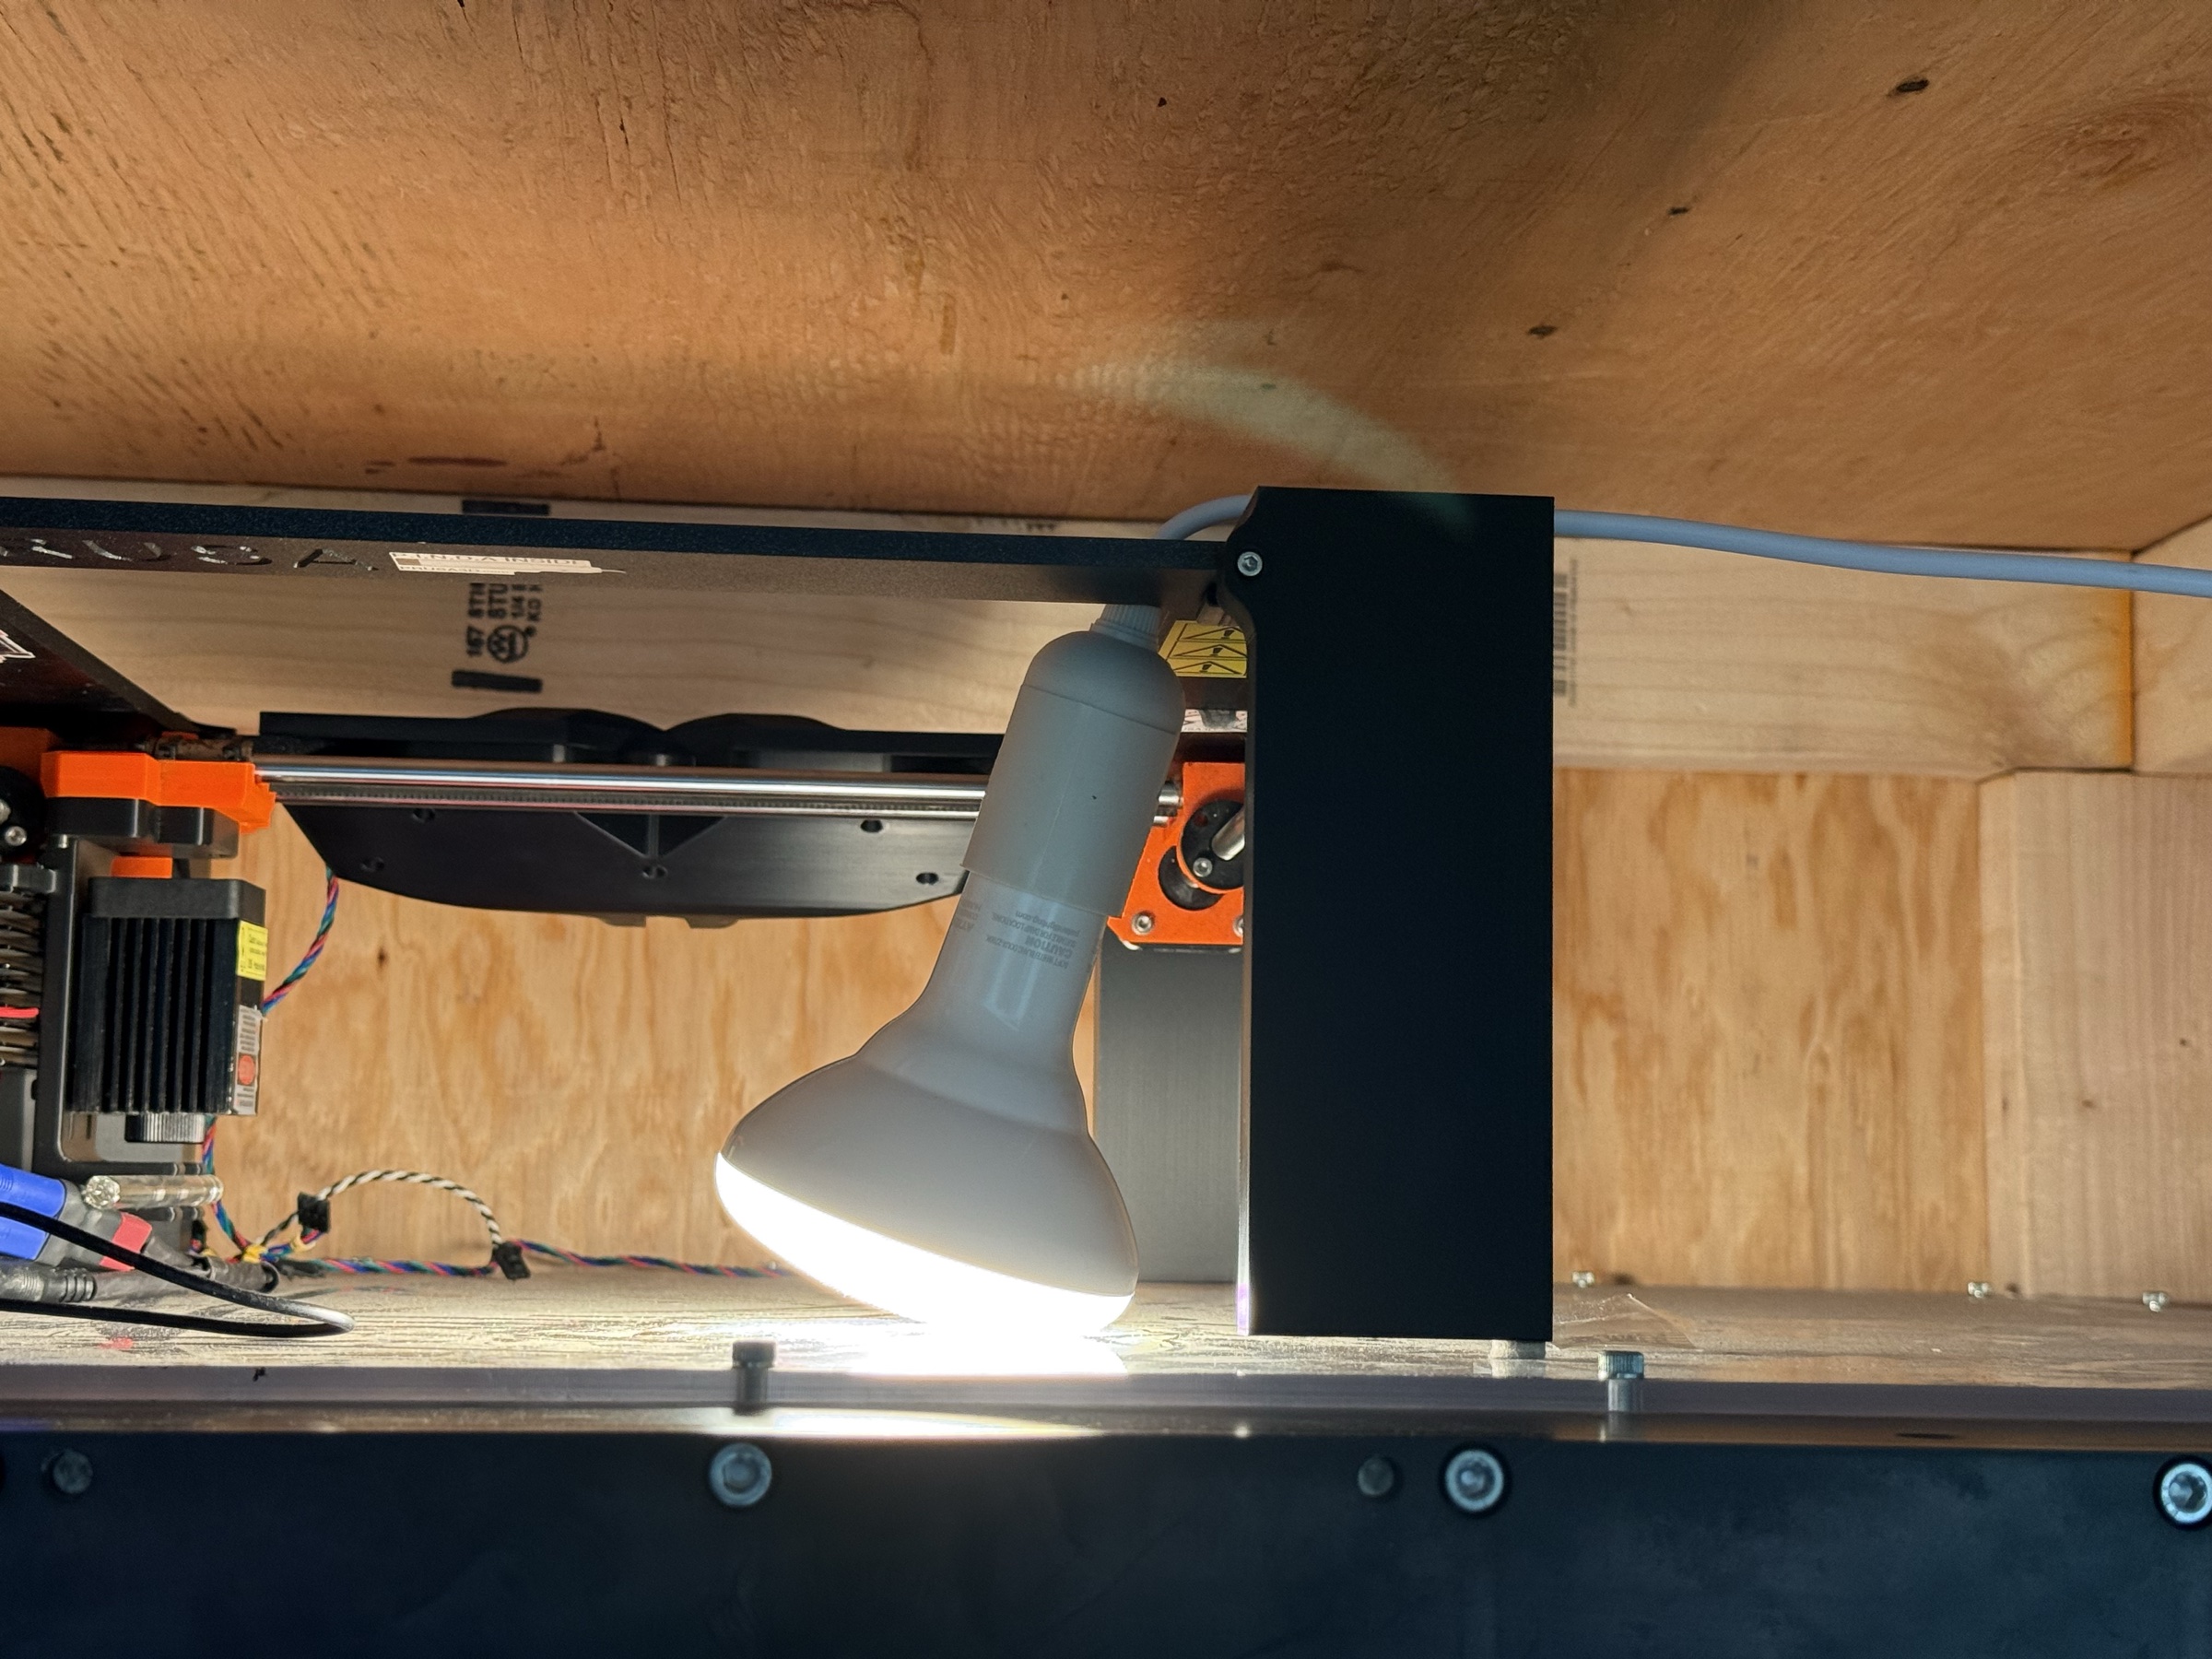
A separate bulb illuminates the test section for mounting models and inspections. It is off during smoke-visualization runs (the goal is to see the laser sheet against a dark background). The dark-room thread (Objective 2 in the top-level README) plans a fabric or rigid enclosure around the test section to reduce ambient light leakage; until that is built, switching this lamp off and dimming the room is the standard arrangement.
Run-order interaction
The laser, the smoke generator, and the tunnel interact strongly. The shutdown order matters: stop the smoke first, let the test section clear, then stop the tunnel, then turn off the laser. See Operations → Shutdown for the full sequence.
The startup order is the inverse: laser first (it warms up and is easy to position with the tunnel quiet), tunnel next, smoke last (once airflow is established). The dependency is that smoke without airflow pools in the room and irritates the operator.